Polish
.png)
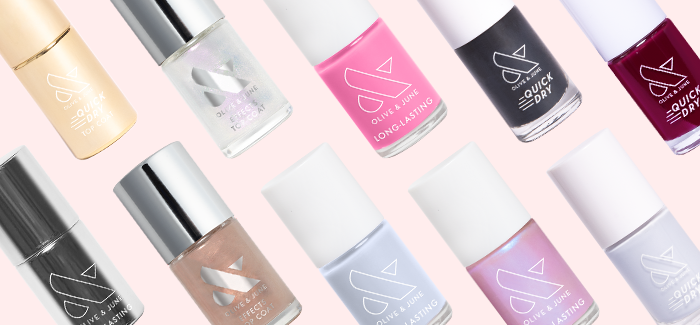
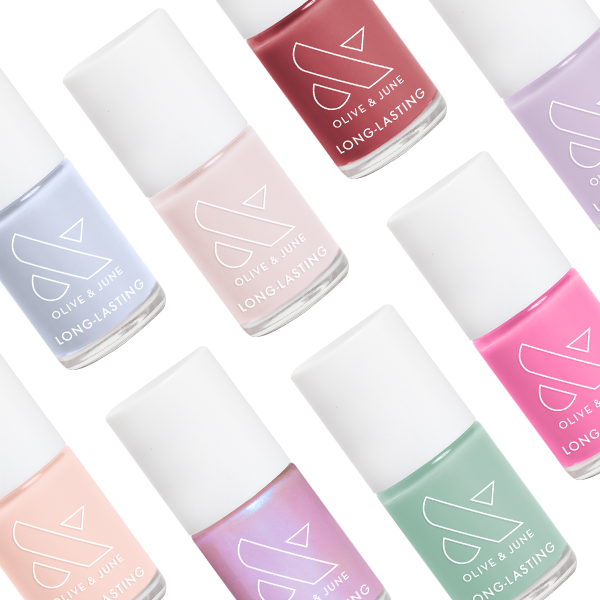
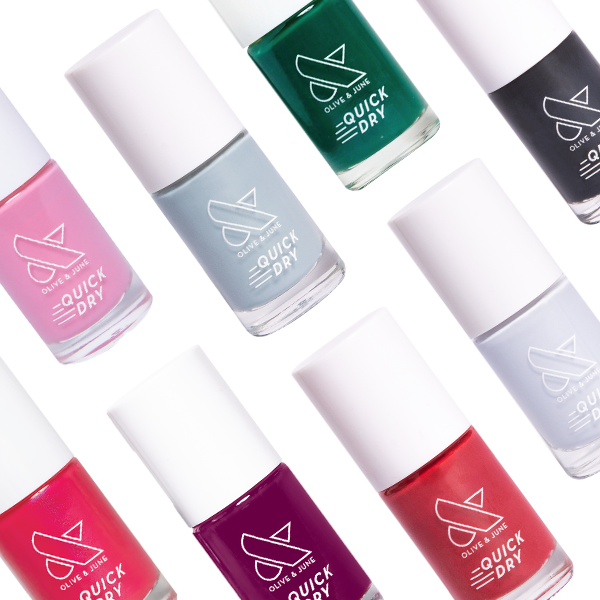
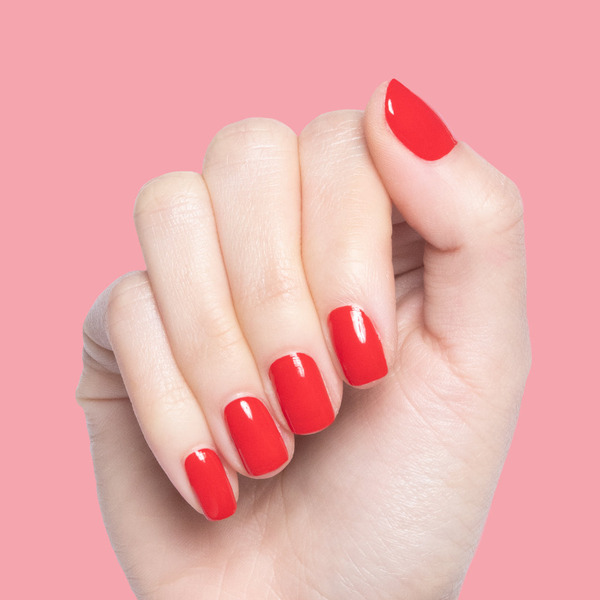
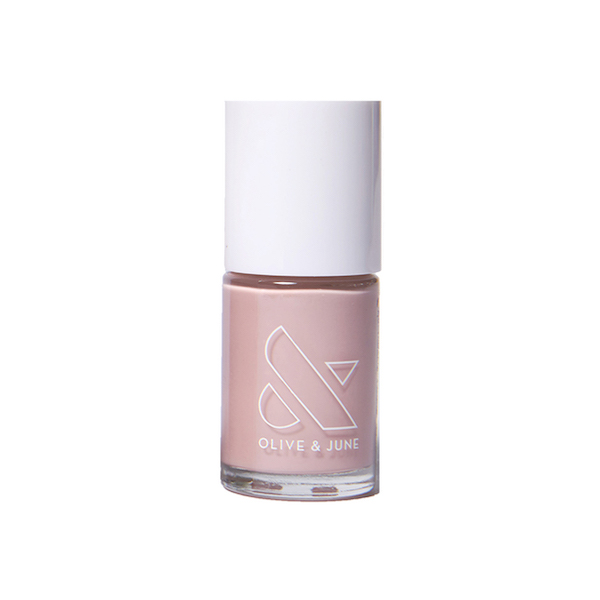
A perfect polish manicure in two bestselling formulas. Choose from gel-like Long-Lasting or Quick Dry.
Olive & June's 15-free polishes allow you to achieve a salon-quality mani at home. Choose from gel-like, Long-Lasting polish or Quick Dry for a mani in about 1 minute. Our polish is easy to paint thanks to the wide fan brush and comes in all of your favorite colors and finishes. Always cruelty-free and vegan.
Products
Long-Lasting Polish
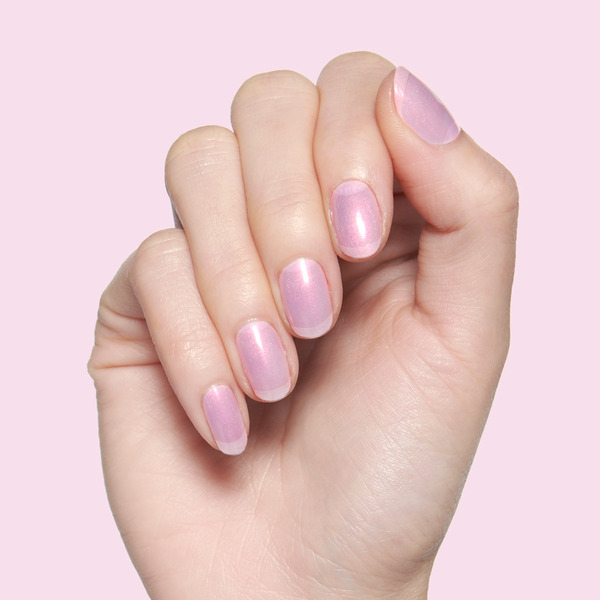
- Plump gel-like finish
- Lasts up to 10 days
- No lamp needed, easy removal
- Use with the Olive & June Top Coat to make your manicure last for days.

What Is the Product?
The secret to painting like a pro is to paint thin coats and to let each coat dry. We recommend waiting at least 5-10 minutes in between each coat. This will make your polish last longer, dry quicker over all, and reduce bubbles.Selling Tips/Tricks
- Olive & June Long-Lasting polish has a plump, gel-like finish. No lamp required and easy removal! We're free of 15 different "no-no" ingredients. We're adjusting our language to 15-free because we want you to know we continue to make the cleanest longest-lasting polish on the market.
- Free of: Formaldehyde, Toluene, Phthalates, DBP, Formaldehyde Resin, Camphor, Ethyl Tosylamide, Xylene, Triphenyl Phosphate (TPHP), Acetone, Animal-Derived Ingredients, Bisphenol-A, Nonylphenol Ethoxylate, Parabens, Phthalates, Sulfate
Related Product
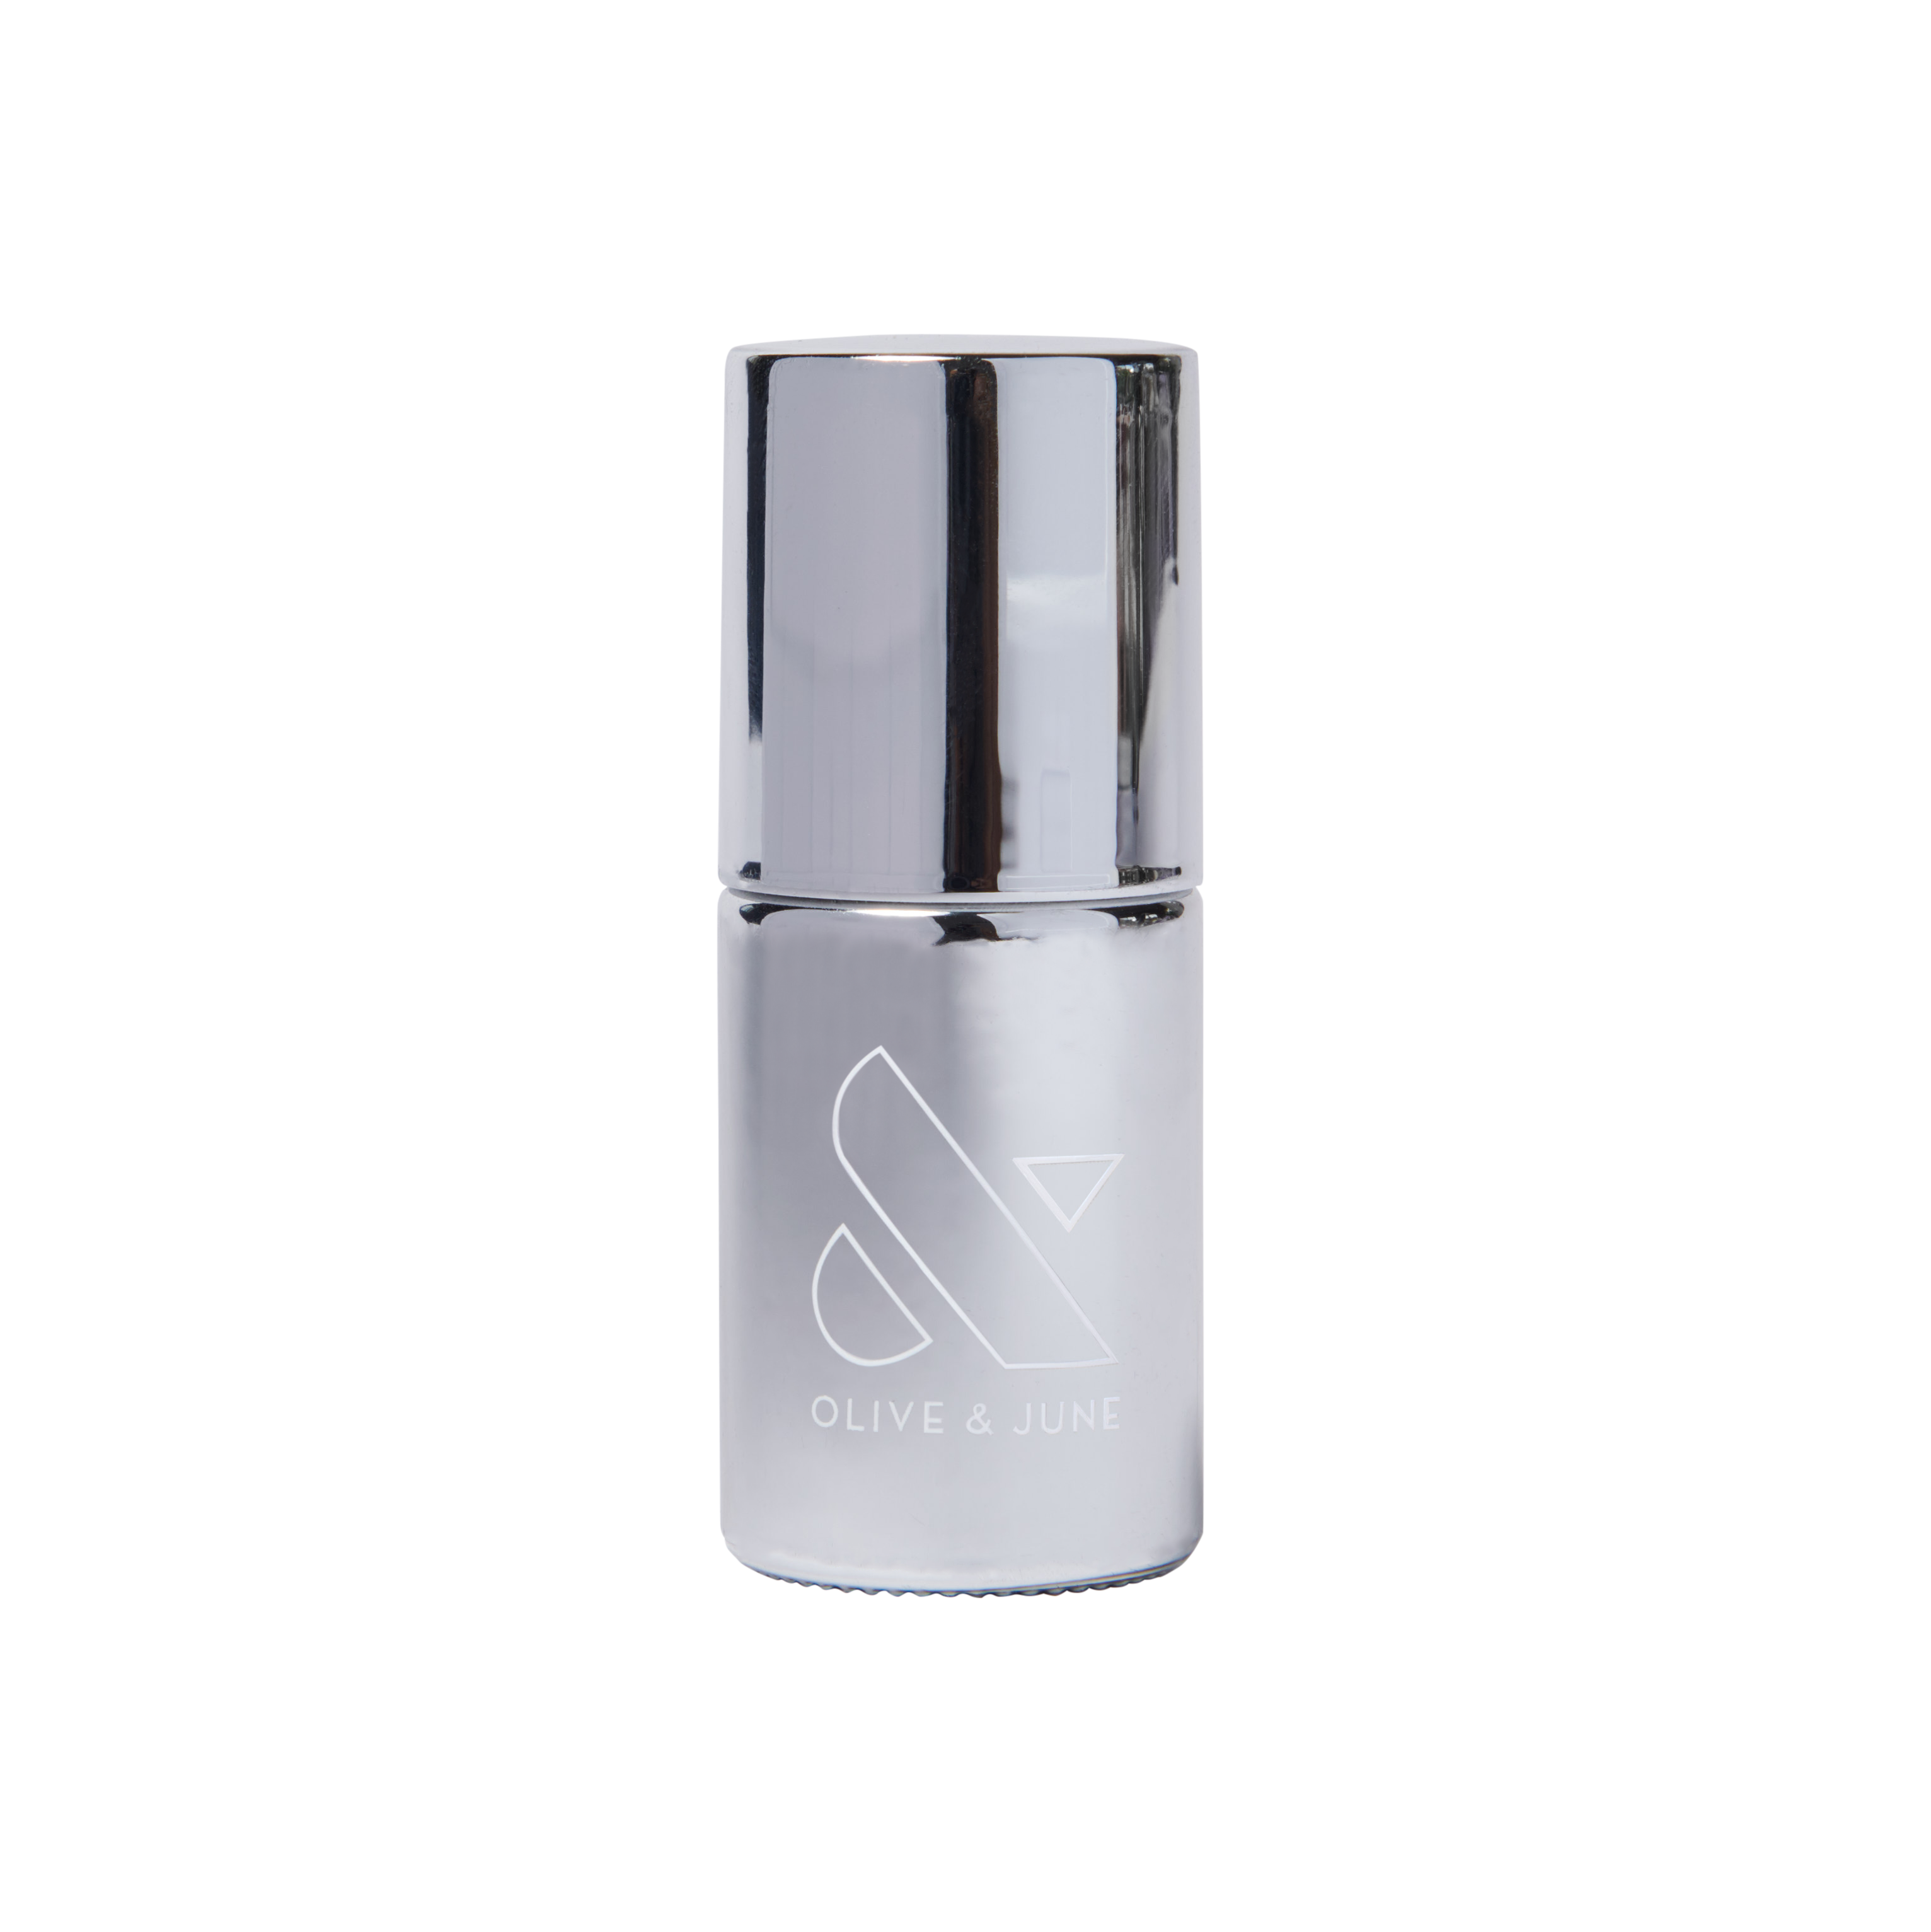
Super Glossy Top Coat
Every perfect mani needs a perfect top coat. Apply a layer of this super shiny top coat as the last step to keep your mani looking fresh for 7+ days.

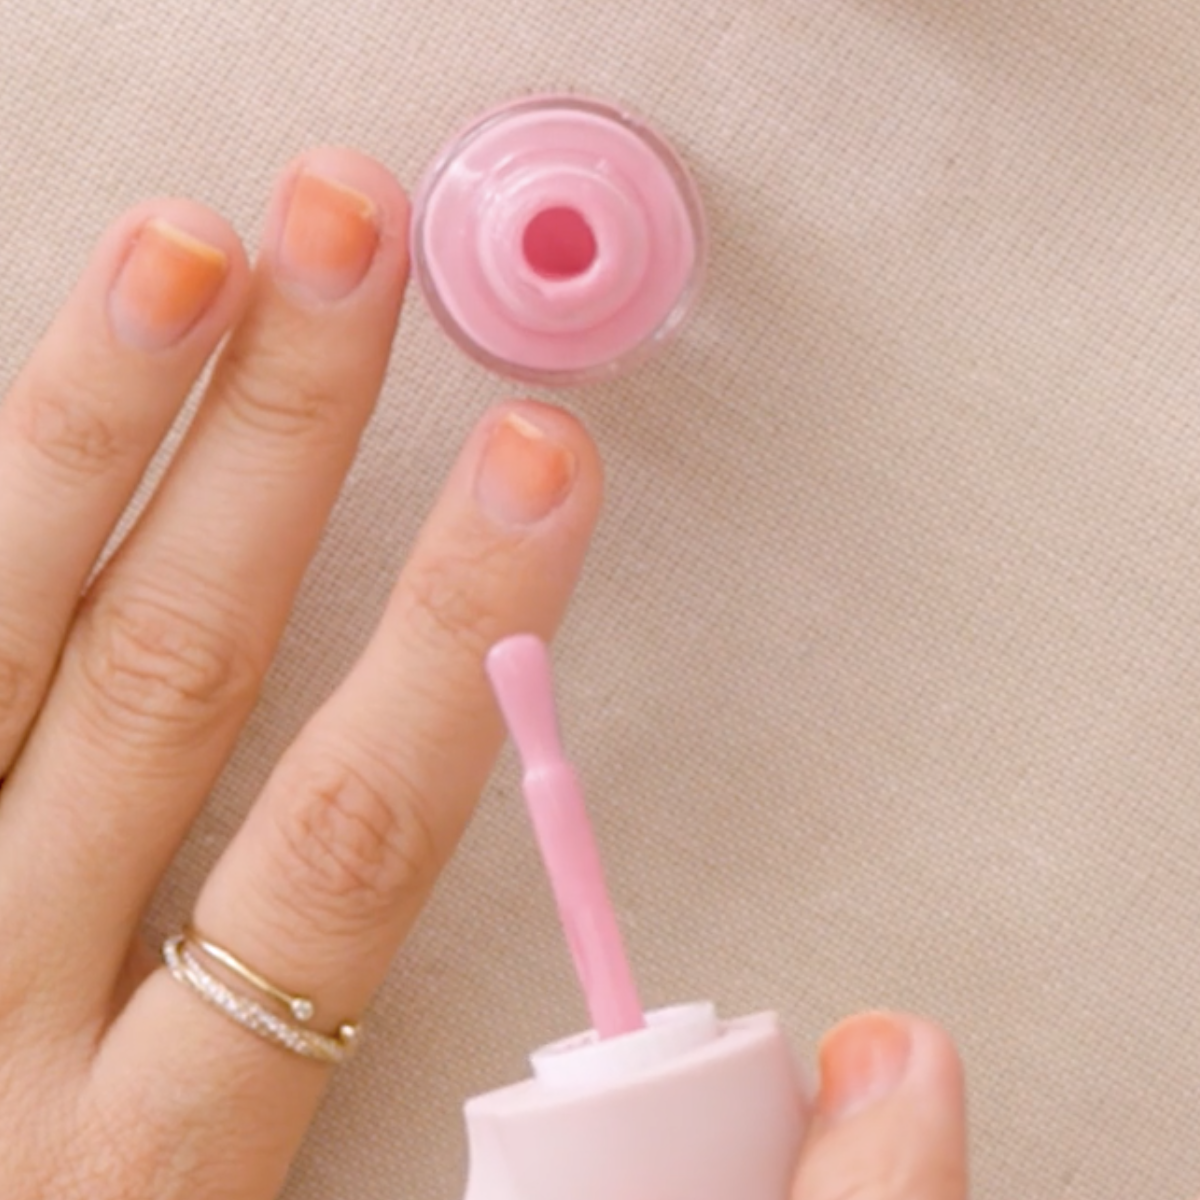
Step 1
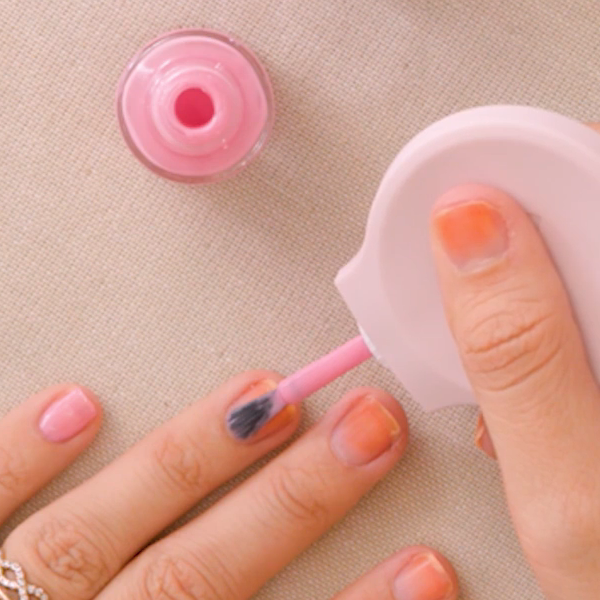
Lift the polish brush out of the bottle and wipe one side of the brush against the neck of the bottle, pulling the brush towards you. Place the polished side in the middle of your first nail, then press down gently so the bristles fan out a bit. Without lifting the brush off the nail yet, push the brush towards the base of the cuticle, getting close to the cuticle without touching it. Then pull the brush back down the center of the nail towards the tip. Then polish to the left and right sides of the first stroke to cover the nail.
Step 2
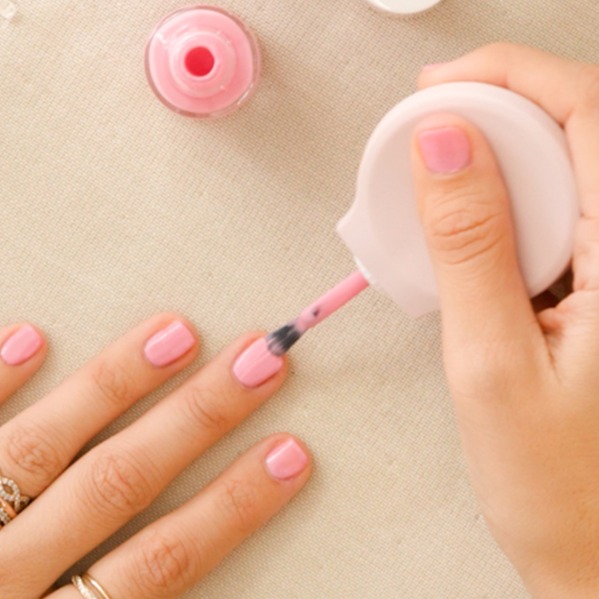
Each coat should be nice and thin— don't worry if your first coat is streaky! It's always better to do more, thinner coats than to try to get full coverage in fewer coats. Try to paint each nail in 2-3 strokes. We like to paint: Middle, Side, Side, but whatever works best for you.
Step 3
After letting your first coat dry for at least 5-10 minutes, apply your second. This time, start your brush at the base of the cuticle (no need to start in the middle of the nail and push, like the first coat. You already have the first layer as your foundation done). If you find that you have too much polish on your brush, wipe some of the polish off on the side of the bottle before painting.
Step 4
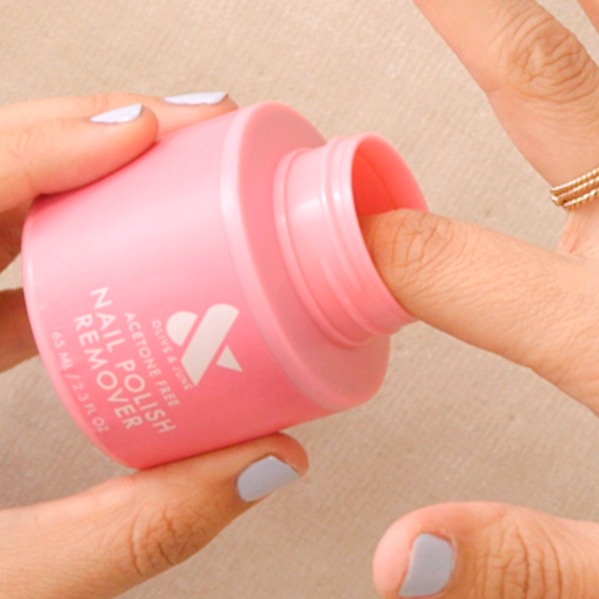
If you make a mistake, simply dip the finger back in the Remover Pot to wipe it clean and start over. Easy! Once you've finished polishing, you're ready to move on to Top Coat.
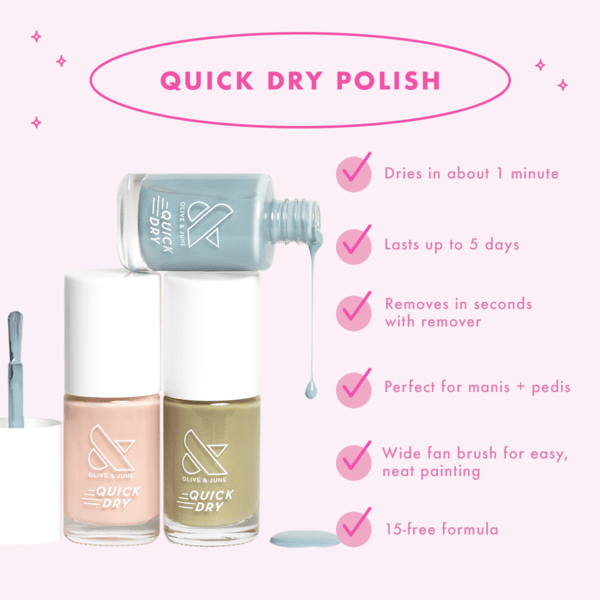
Quick Dry Polish
- Dries in about 1 minute
- Lasts up to 5 days
- Mirror-like shine & smudeproof color payoff
- Use with Olive & June Quick Dry Top Coat to make your manicure last for days
What is the product?
The longest-lasting quick dry polish on the market that dries in about 1 minute and lasts for up to 5 days. This smudgeproof color has mirror-like shine that won't dull but paints like a dream with a wide, fan-shaped brush.Selling Tips/Tricks
For anyone that needs a mani in a hurry, Olive and June’s Quick Dry is the speedy solution you need for salon perfection, at home. This 15-free, vegan formula has been designed and tested to give you a mirror-like shiny mani that is dry in minutes, and lasts 5+ days. For best results, paint thin coats and always follow with Olive & June's Quick Dry Top Coat.Free of: Formaldehyde, Toluene, Phthalates, DBP, Formaldehyde Resin, Camphor, Ethyl Tosylamide, Xylene, Triphenyl Phosphate (TPHP), Acetone, Animal-Derived Ingredients, Bisphenol-A, Nonylphenol Ethoxylate, Parabens, Phthalates, Sulfate
Related Product
.png)
Quick Dry Top Coat
A quick dry Top Coat that dries in seconds and gives major protection and shine.
Step 1
Lift the polish brush out of the bottle and wipe one side of the brush against the neck of the bottle, pulling the brush towards you. Place the polished side in the middle of your first nail, then press down gently so the bristles fan out a bit. Without lifting the brush off the nail yet, push the brush towards the base of the cuticle, getting close to the cuticle without touching it. Then pull the brush back down the center of the nail towards the tip. Then polish to the left and right sides of the first stroke to cover the nail.

Step 2
Each coat should be nice and thin— don't worry if your first coat is streaky! It's always better to do more, thinner coats than to try to get full coverage in fewer coats. Try to paint each nail in 2-3 strokes. We like to paint: Middle, Side, Side, but whatever works best for you.

Step 3
After letting your first coat dry for at least 1 minute, apply your second. This time, start your brush at the base of the cuticle (no need to start in the middle of the nail and push, like the first coat. You already have the first layer as your foundation done). If you find that you have too much polish on your brush, wipe some of the polish off on the side of the bottle before painting.

Step 4
If you make a mistake, simply dip the finger back in the Remover Pot to wipe it clean and start over. Easy! Once you've finished polishing, you're ready to move on to Quick Dry Top Coat.
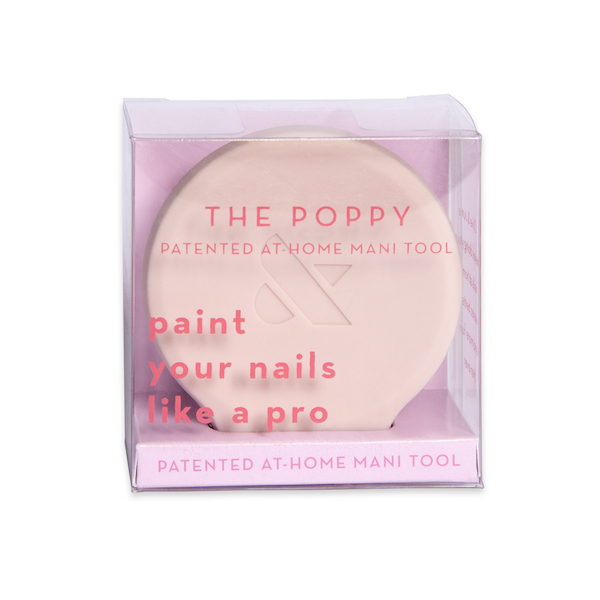
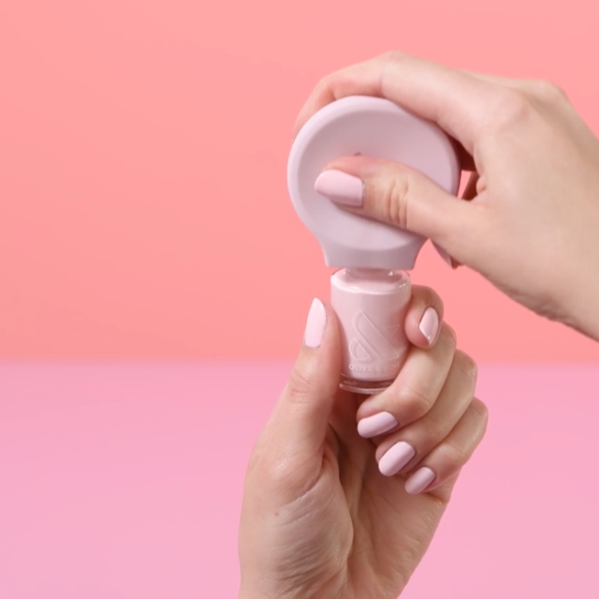
The Poppy
Meet Poppy! Our patented universal polish bottle handle makes painting your own nails easier, faster, and better than ever. Pop it on top of your favorite polish for a comfy grip, more control, and even, steady strokes. A perfect mani every time.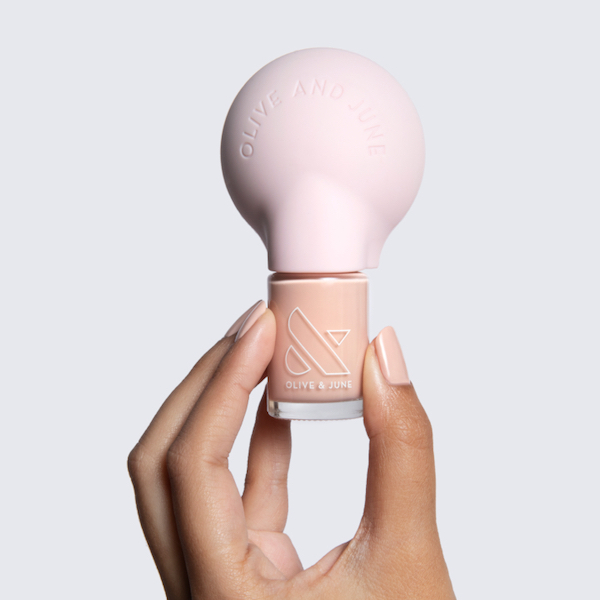
What Is the Product?
Poppy is made of super soft silicone and was designed with industrial engineers. It fits on top of almost every nail polish bottle and helps reduce shaking and give you a comfy grip as you paint. Poppy also has the perfect weight to help steady your hands.Selling Tips/Tricks
Poppy was originally designed to rest in the palm of your hand but experiment with different placements to find the most comfortable position for you.Related Product
Long-Lasting Polish
- Plump gel-like finish
- Lasts up to 10 days
- No lamp needed, easy removal with our Polish Remover Pot
- Use with the Olive & June Super Glossy Top Coat to make your manicure last for days.
Step 1
To use Poppy, first pop off the overcap on our polish by pulling straight up and off.
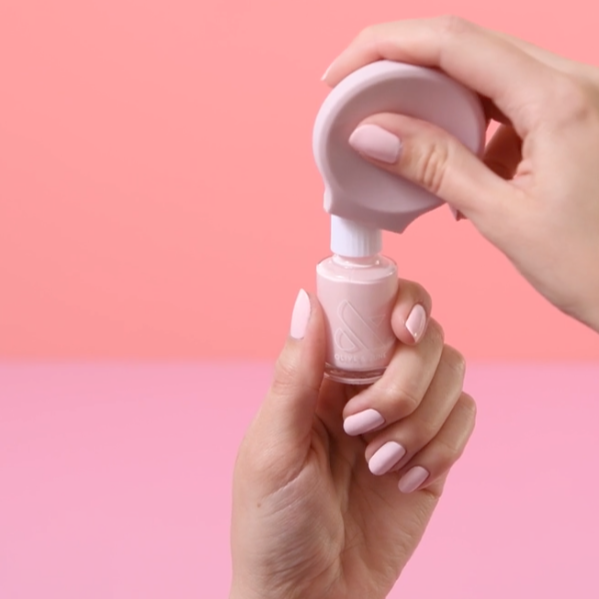
Step 2
Next, line up the flat side of the brush with the flat side of Poppy. The inner cap of our polish has a handy marker to designate where the flat side of the brush is.
Step 3
Pop on Poppy by shimmying it on top of the cap, leaving a little bit of the white innercap visible.
.png)
.png)
.png)